How To Tie: Figure-8 Knot
There is no knot you will tie more than the figure-8 when starting off climbing. The figure-8 knot is used in all aspects of rock climbing from tying into your harness to building your anchors.
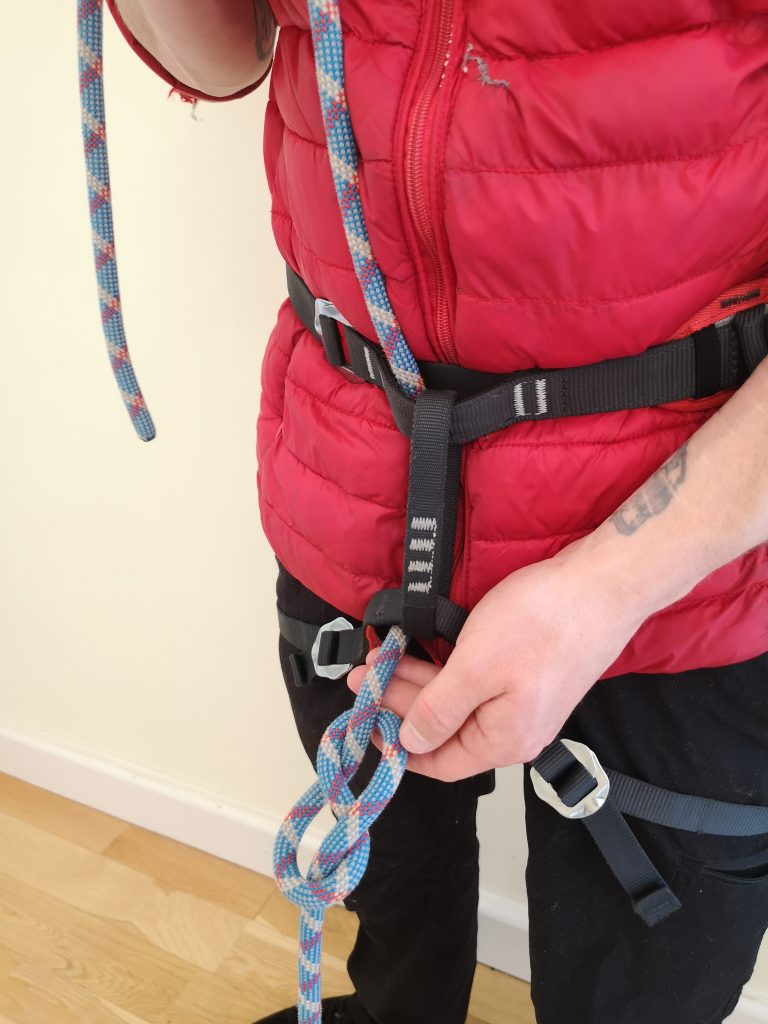
Tying into your harness
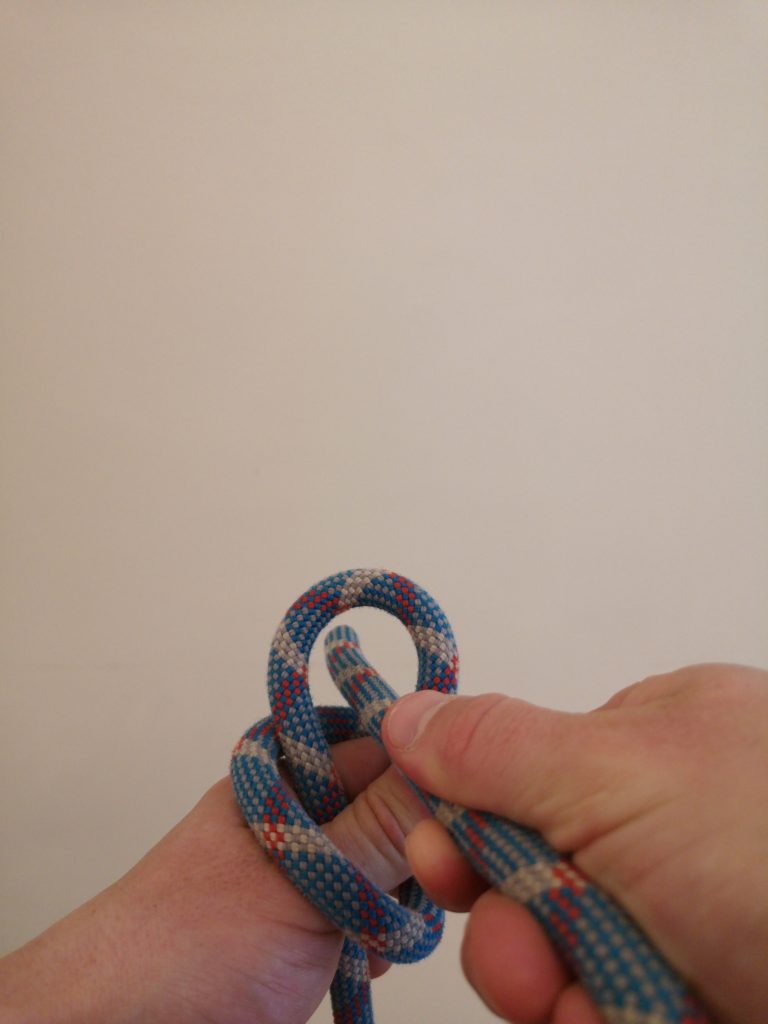
When trying into our harnesses you tie a “re-threaded figure-8”. Below is an easy method with easy to remember steps for how to tie a re-threaded figure-8. After a while you will most likely find a faster and easier way of tying the figure-8.
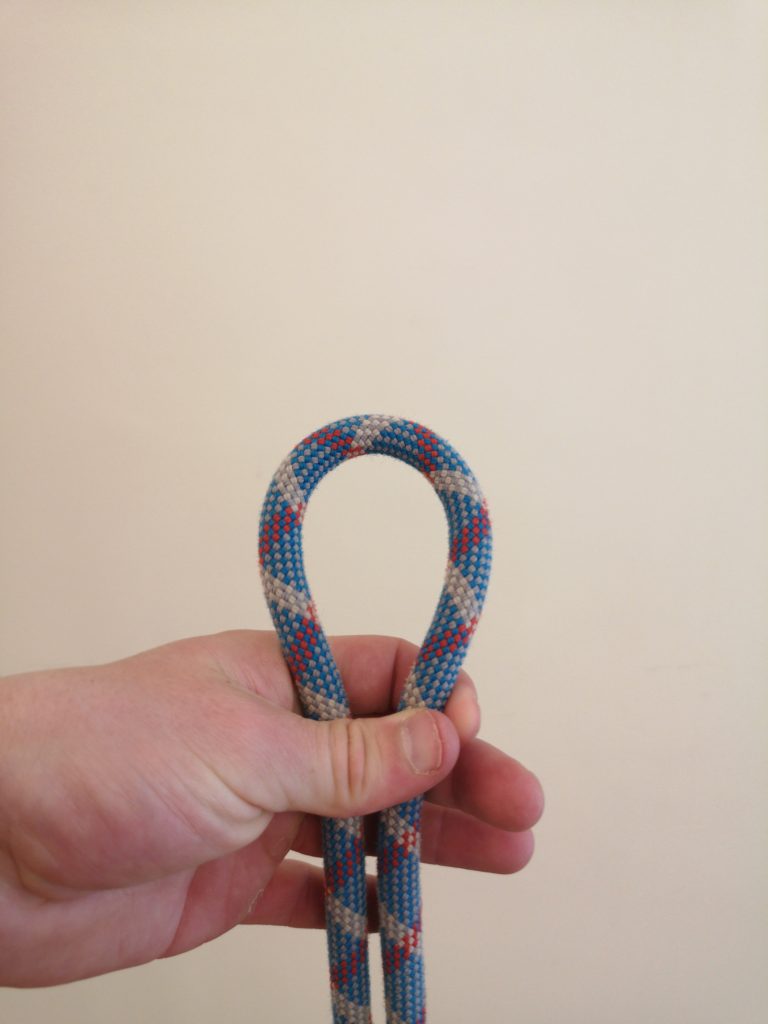
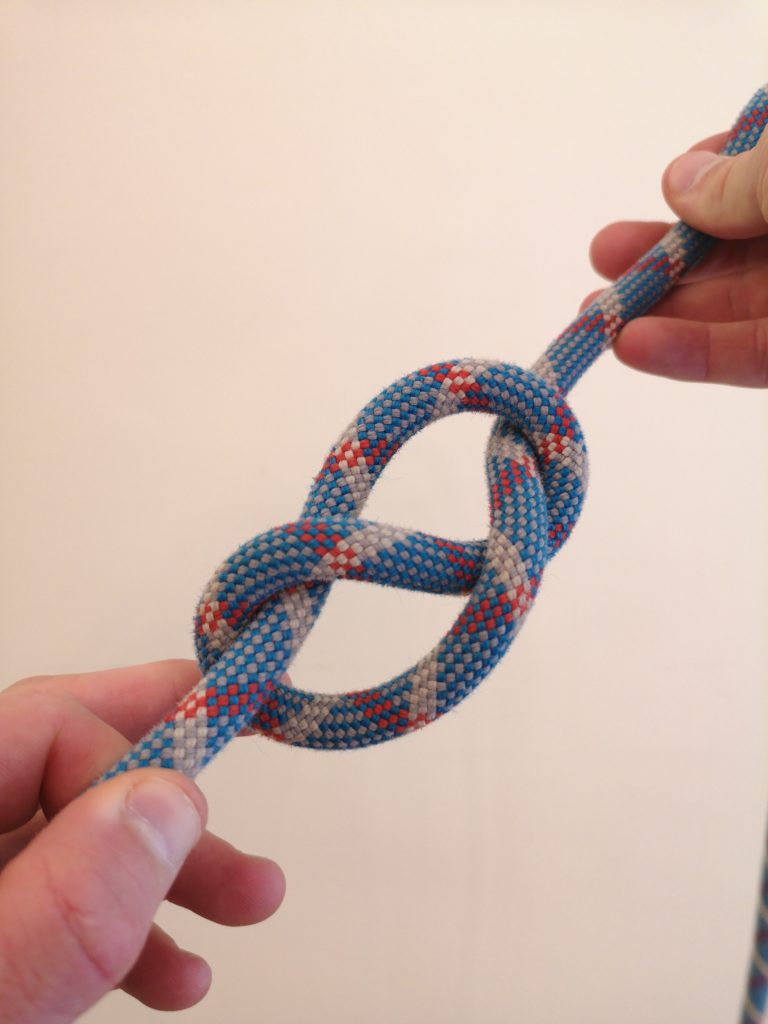
First half complete
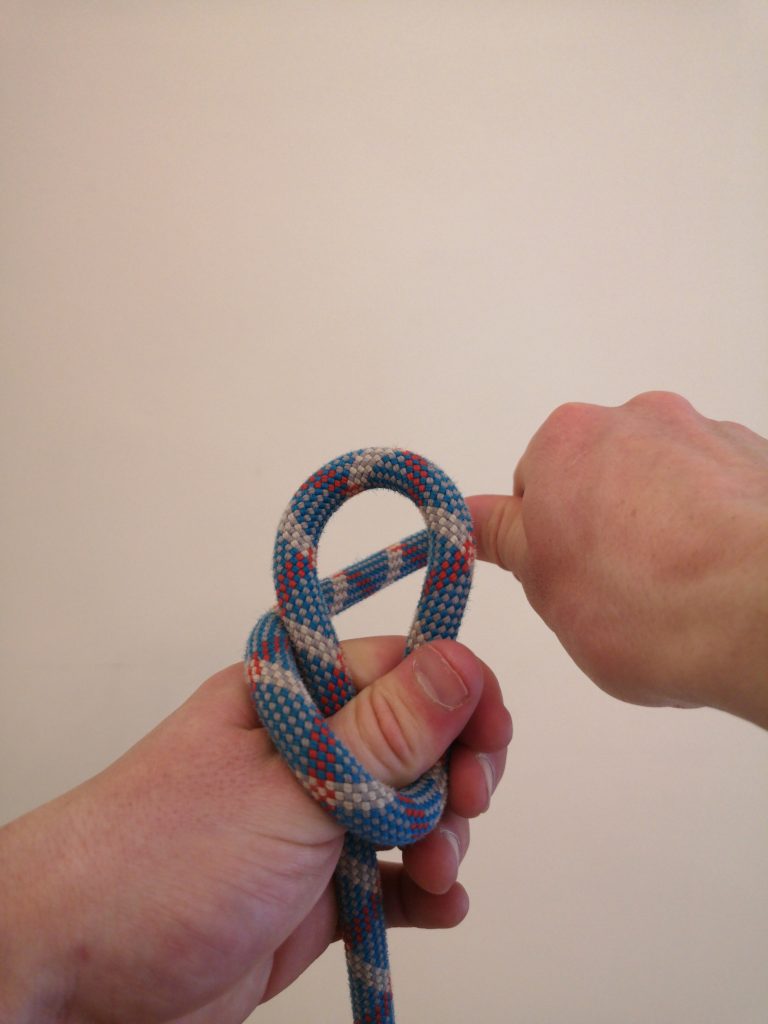
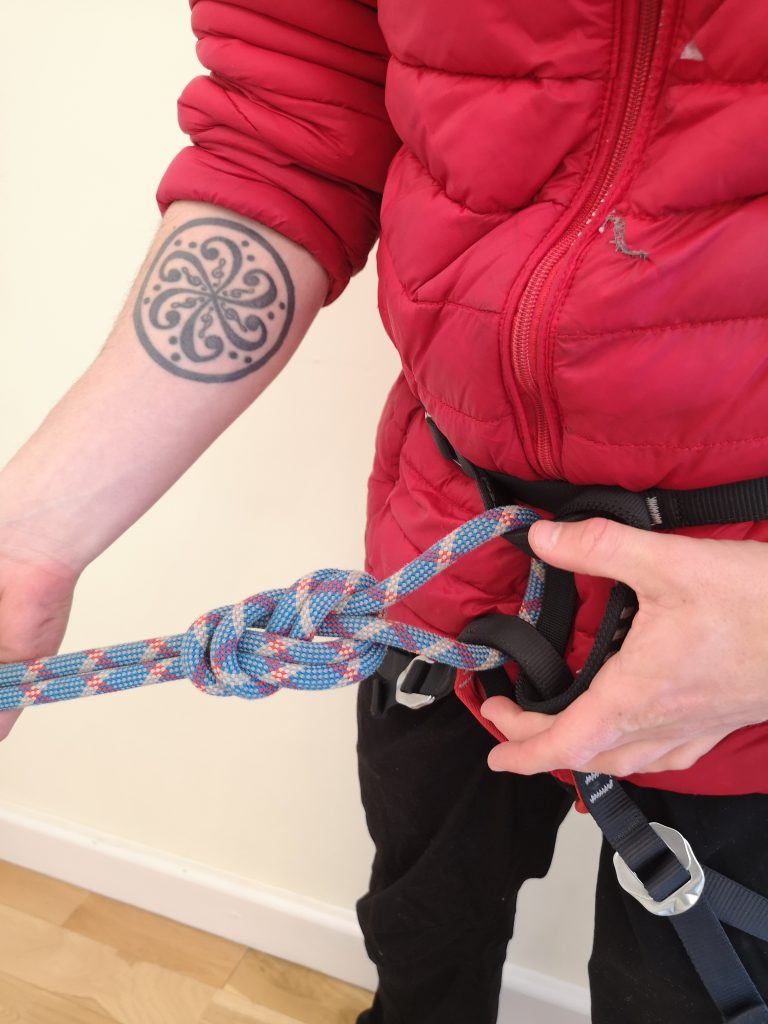
Tying A Stopper Knot
After we tie our figure-8 we will be left with roughly 5″ of tail. You must always leave a minimum of 6″ as a saftey margin. We tidy up this tail with what is called a stopper knot.
Note: A stopper is not used by all climbers. Petzl state that a minimum tale of 4 inches will suffice (gym).
Things to note
Top-down or bottom-up: There is an on going debate amongst annoying people wheather to tie in bottom-up or top-down. I have always gone bottom up, because I’ve learned that way. But if anyone decideds to interrogate you here is some more insight.
According to Black Diamond “both methods suffice”. But there are pro’s and cons. For instance, going bottom up allows you to see both loops clearly as you pass the rope through. The leg loops also take 70-80% of the load in a fall, so thats another point for the bottom loop.
The downside though is that if you do fall on your bottom loop alone , you’ll go upside down.
So if you’re going to go bottom-up or top-down just make sure that you do with no distractions and nail it 100% everytime. Also never leave the ground without a buddy check, it could will save your life.